How do you maintain block paving in winter?
Last Updated: October 26, 2026
Quick Summary
To maintain block paving winter, clear debris and inspect for damage in autumn, use block-paving-safe de-icers like calcium chloride instead of rock salt, remove snow manually with a plastic shovel, and protect jointing sand by shoveling along joints rather than across them. Avoid pressure washing in freezing conditions and clean the surface only on mild, dry days to prevent water from refreezing in joints.
- Use calcium chloride or magnesium chloride de-icers instead of rock salt, which damages mortar and causes surface spalling.
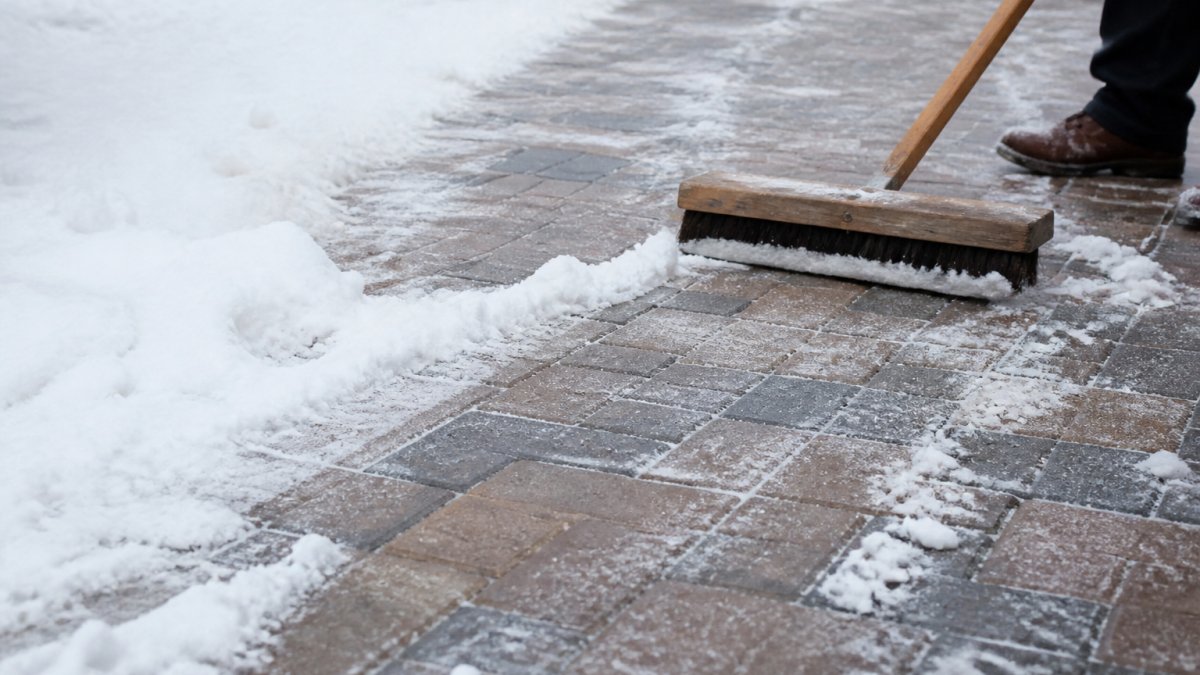
- Shovel snow manually with a plastic shovel kept parallel to the surface to avoid displacing jointing sand.
- Apply sealant in autumn on dry days, never in winter when temperatures are near freezing or rain is forecast.
- Inspect joints regularly after heavy rain or snow removal and top up jointing sand in spring if the base layer is exposed.
- Don't pressure wash in freezing conditions; water refreezes and forces into joints, accelerating freeze-thaw damage.
Table of Contents
- Why winter maintenance matters for block paving
- Preparing your block-paved driveway before winter arrives
- Safe de-icing methods for block paving
- Cleaning block paving safely during cold weather
- Protecting block paving jointing sand through winter
- Removing moss from block paving in winter conditions
- Inspecting and repairing winter damage to your paving
- Getting professional help with winter block paving care
- Frequently Asked Questions
Why winter maintenance matters for block paving
Winter is brutal on block paving, which is why you need to maintain block paving winter to prevent costly damage. Frost, snow, and heavy rain accelerate damage if you're not proactive.
The problem isn't just cold, it's the freeze-thaw cycle. Water enters tiny gaps, freezes, expands, and forces blocks apart. Repeated through winter, this causes cumulative damage: by spring, minor stress has become a structural problem.
Block paving in the North East faces particular pressure from heavy rainfall, repeated freezing and thawing, and prolonged damp. The good news: a straightforward maintenance routine dramatically reduces winter damage.
Protecting your block-paved driveway now avoids expensive repairs later; learning how to maintain block paving winter is the key to success. A few hours of preparation beats weeks of remedial work, so start your winter maintenance plan before the cold arrives.
guidance on freeze-thaw damage to pavements
You'll want to understand Winter Driveway Care in the North East: Checks, Cleaning and Repairs and How Freeze-Thaw Cycles Damage Driveways in Winter to see the full scope of seasonal maintenance.
Preparing your block-paved driveway before winter arrives
Start winter prep in autumn, before temperatures drop. It takes a weekend but saves months of headaches.
Clear debris thoroughly. Remove leaves, dirt, and organic matter from the surface and joints, they trap moisture and accelerate moss and algae growth. Sweep with a stiff broom in multiple directions to clear the gaps between blocks.
Inspect for loose blocks and damage. Walk the driveway and press down on each block; any that move or rock indicate loose joints, so mark them. Check for cracks, chips, or surface damage that could let water penetrate deeper.
Address drainage issues. Standing water is your enemy. Check that water flows away from your property; if puddles form, clear blocked drainage channels or regrade slightly. Poor drainage turns winter damage into major problems.
Clean the surface properly. A thorough clean removes the biological growth that weakens blocks.
Consider sealing (but timing matters). Sealant protects against moisture and staining. Apply it in autumn on a dry day, never in winter when temperatures are near freezing or rain is forecast, sealing in damp conditions traps moisture.
| Preparation Task | Timing | Why It Matters |
|---|---|---|
| Clear debris | September-October | Prevents moisture trapping and moss growth |
| Inspect blocks | October | Identifies loose joints before frost |
| Check drainage | October | Prevents water pooling under ice |
| Clean surface | October (dry day) | Removes growth that weakens blocks |
| Seal (optional) | September-October | Protects if done before winter rain |
Safe de-icing methods for block paving
This is where most people go wrong. Rock salt and harsh de-icing products break down joint mortar and deteriorate the surface. You need a different approach.
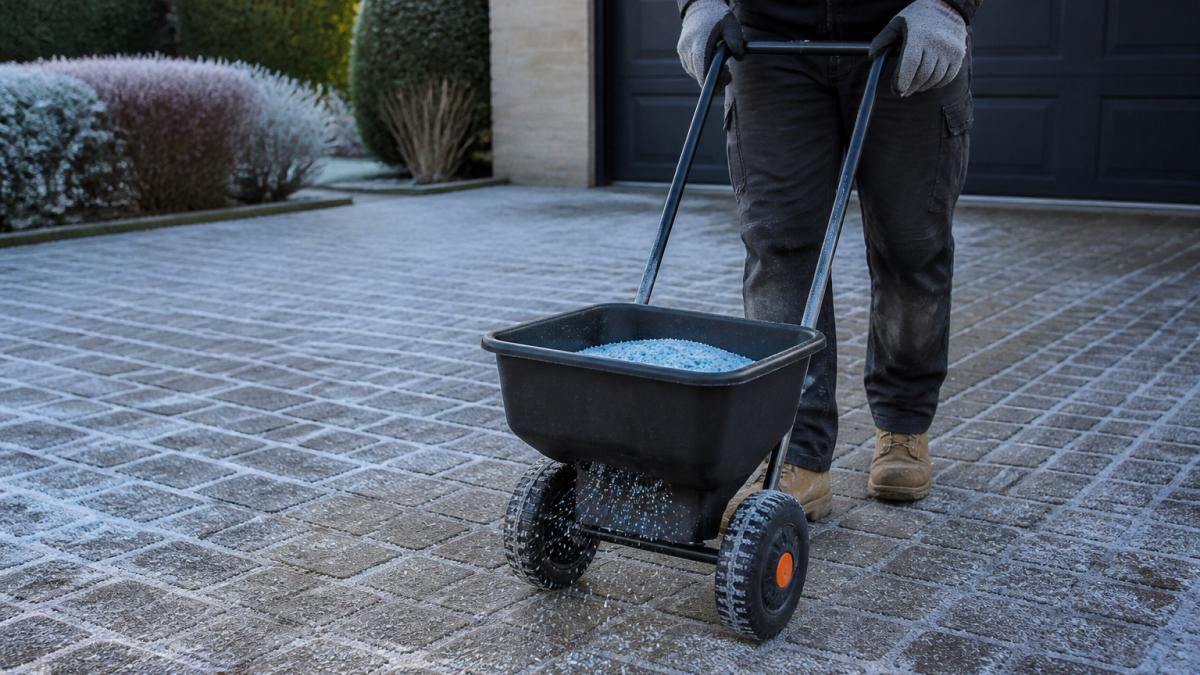
Use block-paving-safe de-icing products. Calcium chloride and magnesium chloride are gentler than sodium chloride (rock salt) and melt ice without long-term damage.
Avoid rock salt entirely. Sodium chloride penetrates joints, breaks down mortar, and causes surface spalling (small chips and flakes).
Manual removal is your first choice. Shovel snow and ice before it compacts.
Protect jointing sand during snow and ice removal. Snow removal is a main cause of jointing sand loss.
Grit and sand for traction. For grip underfoot, use grit or coarse sand instead of salt, traction without chemical damage. Sweep it up in spring so it doesn't trap moisture.
Don't pressure wash in freezing conditions. The water refreezes, creating ice hazards, and forcing it into joints accelerates freeze-thaw damage. Wait for milder days.
Timing matters. Apply de-icer early in the freezing event, not after thick ice forms. Clear loose snow first, then treat the residual ice rather than snow-covered paving.
Check drainage after de-icing. Meltwater should drain away freely. If it pools, clear drainage channels and sweep excess product off the surface so it doesn't sit in joints.
Cleaning block paving safely during cold weather
Winter cleaning requires caution: remove moss, algae, and organic growth without causing freeze damage.
Wait for milder days. Clean when temperatures are above freezing and rain isn't forecast.
Use a stiff broom first. Brush firmly to remove loose debris, moss, and algae. A stiff-bristled broom does most of the work without water, the safest method in winter.
Low-pressure water only. If you use water, keep pressure below 80 bar. High pressure forces water deep into joints and under blocks, where it freezes and causes expansion damage.
Avoid fungicidal wash in winter. These treatments need warmer months to dry properly; in winter the product sits on the surface and rain washes it into joints. Apply in spring or autumn instead.
Dry the surface after cleaning. If you've used water, squeegee or broom-sweep standing water away to prevent refreeze and reduce penetration into joints.
Don't clean if frost is forecast. If frost is coming within 24 hours, wait, wet paving will ice over and become treacherous.
Protecting block paving jointing sand through winter
Jointing sand is the material between your blocks. It holds them in place and allows slight movement. Winter weather attacks it aggressively.
Heavy rain washes sand away. Winter brings sustained rainfall that erodes jointing sand, especially if drainage is poor. Once sand is gone, blocks shift and water enters the base layer beneath.
Snow removal can displace sand. When you shovel snow, you're also shoveling sand from the joints.
Don't pressure wash joints in winter. High-pressure water blasts sand out of the gaps.
Inspect joints regularly. Walk your driveway after heavy rain or snow removal. Look for gaps where sand has washed away.
Replenish sand in spring. After winter, check all the joints. If they're low, brush new jointing sand across the surface and into the gaps. Use the same material as your original installation.
Use polymeric jointing sand if possible. This specialist product hardens when wet, making it more resistant to winter erosion. It costs more than standard sand but lasts significantly longer through freeze-thaw cycles.
Removing moss from block paving in winter conditions
Moss thrives in winter's damp, cold conditions. It weakens blocks by trapping moisture and makes surfaces dangerously slippery.
Prevention is easier than removal. Keep your paving clean and dry. Sweep regularly to remove debris that moss feeds on. Good drainage prevents standing water where moss grows.
Brush moss off when dry. Use a stiff broom on a dry day. Don't use a pressure washer because the water will spread moss spores and force water into joints.
Apply fungicidal wash in spring or autumn. Don't treat moss in winter. The product won't dry properly, and rain will wash it away or into joints.
Vinegar or mild acid treatments. Some people use household vinegar as a gentler alternative to commercial fungicides.
Manage slip risk first. Moss-covered paving is dangerous when wet or frosty. Keep main walking routes clear and consider grit for traction on affected areas.
Accept some moss in winter. Winter's cold and damp mean moss will return quickly. Rather than fighting it repeatedly, focus on prevention through good cleaning in autumn.
Inspecting and repairing winter damage to your paving
Spring reveals what winter has done. A thorough inspection tells you what needs fixing.
Walk the entire surface. Look for sunken blocks, cracks, loose sections, and surface damage. Press down on blocks to feel for movement. Check for water pooling in new places, which indicates settling.
Identify loose blocks. Blocks that rock or move need attention. Mark them with chalk. Loose blocks allow water underneath, which causes rapid deterioration.
Check for frost damage. Spalling (small chips on the block surface) and surface cracking indicate freeze-thaw damage. Light spalling is cosmetic. Extensive damage means the block needs replacement.
Look at the joints. Are they eroded or missing sand? Do you see the base layer underneath? Damaged joints need resanding or repointing.
Assess water drainage. Does water still flow away from your property? Have new low spots appeared? Poor drainage will cause the same problems again next winter.
Know when to call a professional. If more than a few blocks are loose, if large sections have settled, or if you see structural cracks, you need expert help. Explore block paving services to find professional options for your winter maintenance needs. Signs Your Driveway Needs Winter Repair Before It Gets Worse will help you identify which damage requires professional attention.
Watch out: Don't ignore loose blocks or sunken sections. These problems accelerate rapidly. Water gets underneath, freezes, and causes further settling. What looks like minor damage in spring becomes a major repair by next winter.
Getting professional help with winter block paving care
Winter maintenance sometimes exceeds what you can do yourself. Knowing when to call in professionals saves money and prevents further damage.
Professional cleaning and treatment. Specialists have equipment and products designed for block paving. They know the right pressure, temperature, and timing to clean safely without damage.
Loose block repair. If blocks are moving, professionals can lift them, inspect the base, add or compact sand, and reset them properly.
Joint repair and resanding. Eroded joints need raking out and resanding with proper technique. Professionals ensure the sand is compacted correctly and the joints are filled to the right depth.
Drainage solutions. If water is pooling or not draining properly, professionals can assess the cause and fix it. This might involve regrading slightly, clearing blocked channels, or installing additional drainage.
Replacement of damaged blocks. Blocks with extensive frost damage or structural failure need replacing. Professionals match your existing blocks and ensure the replacement sits level with neighbours.
Paving & Driveways: Why Your Contractor Choice Matters explains how to choose the right professional for your needs.
Frequently Asked Questions
Is it safe to use salt on block paving in winter?
No, rock salt damages block paving by accelerating freeze-thaw cycles and causing surface spalling. Instead, use calcium chloride or specialist de-icing products formulated for paving blocks. These work at lower temperatures without harming the material or jointing sand. Always check the product label to confirm it's safe for your block type, especially if you have decorative or porous finishes.
Can you pressure wash block paving in winter?
Avoid pressure washing during freezing conditions. Water driven into the paving and joints will freeze, expanding and causing cracks. If you must clean in winter, use a stiff broom and mild detergent instead. Wait until temperatures rise consistently above freezing before using a pressure washer. If you do pressure wash in mild winter weather, ensure proper drainage so water doesn't pool and refreeze overnight.
When should you re-sand block paving before winter?
Re-sand your block paving jointing sand in early autumn, before heavy rain and frost arrive. This gives the sand time to settle and bond properly. Avoid re-sanding in late autumn or early winter, wet weather will wash new sand away, and frost can prevent proper compaction. If you've already entered winter without re-sanding, wait until spring when conditions are drier and warmer.
How do you make block paving less slippery in winter?
Apply a specialist anti-slip treatment or use grit-based de-icing products that provide traction. Ensure drainage is working so water doesn't pool and freeze on the surface. Keep the paving clear of moss and algae, which become slippery when wet. Remove snow promptly and avoid sealing your paving in winter, sealed surfaces become more slippery in frost and thaw cycles.
Winter maintenance for block paving isn't complicated, but it does require attention. The blocks you protect now will serve you reliably for years. If you're uncertain about any aspect of winter care or you've spotted damage that concerns you, give us a call. We'll assess your driveway, explain what's needed, and provide a free estimate for any work.

