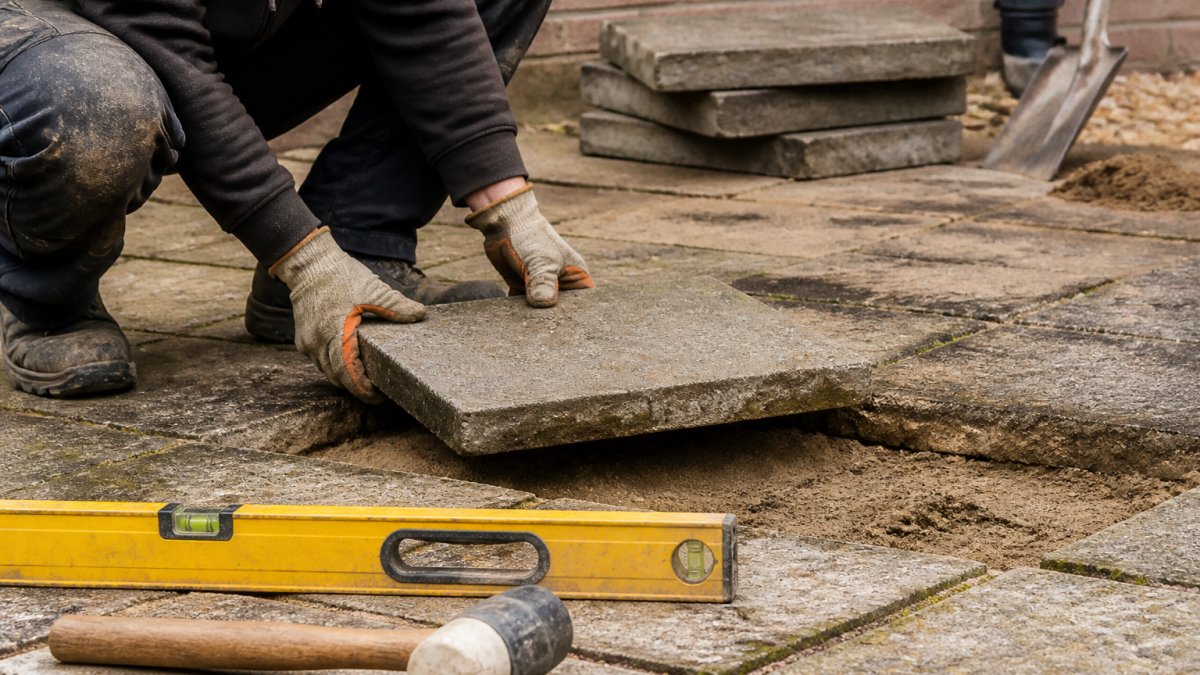
Repairing Sinking Patio Paving Slabs: A Step-by-Step Guide
Table of Contents
- Why Patio Paving Slabs Sink: Understanding the Root Causes
- Diagnosing Sunken, Loose, and Damaged Patio Slabs
- How to Lift and Relay Patio Slabs: The Complete Process
- Re-Bedding Patio Slabs: Rebuilding and Levelling the Base
- Choosing Materials and Getting the Proportions Right
- Patio Slab Repair Cost and When to Call a Professional
- Preventing Future Sinking and Maintaining Your Patio
- Frequently Asked Questions
Last Updated: October 21, 2026
Why Patio Paving Slabs Sink: Understanding the Root Causes
Sinking patio paving slabs are one of the most common problems we see across the North East. The issue rarely appears overnight, it's usually several factors working together over months or years.
The main culprits are poor drainage, inadequate base preparation, and ground movement.
Common causes include:
- Insufficient or failed bedding material underneath
- Poor sub-base compaction or preparation
- Water pooling beneath the patio surface
Most homeowners don't realise how critical the base layer is. A solid foundation stops many sinking problems before they start.
Diagnosing Sunken, Loose, and Damaged Patio Slabs
Signs of settlement and movement
The first step is identifying exactly what's wrong. Not all uneven paving needs a full repair, sometimes a simple re-levelling fixes it. Other times, you need to remove and rebuild the entire base.
Look for these warning signs:
- One or more slabs sitting noticeably lower than neighbours
- Rocking or movement when you step on a slab
- Water pooling on the surface after rain
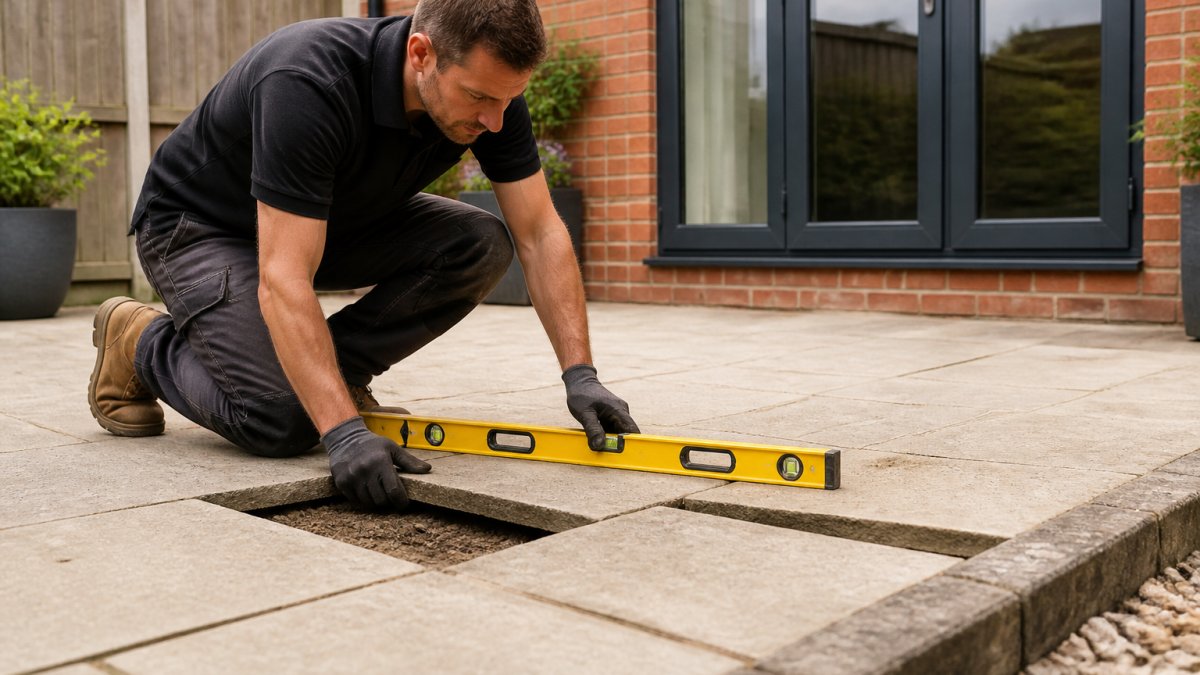
A simple test: place a straight edge across the affected area. If the gap is under 5mm, you might get away with a levelling compound. Gaps over 10mm usually mean the slab needs lifting and re-bedding.
Checking for drainage issues
Water is the enemy of any patio. If water sits beneath the surface instead of draining away, it softens the bedding material and causes settlement. Poor drainage often causes sinking patio paving slabs in the first place.
Check your drainage by:
- Pouring water on the patio and watching where it flows
- Looking for areas where water pools or drains slowly
- Inspecting the joints, blocked or failed jointing traps water
If water isn't draining properly, fixing just the slabs won't solve the problem. You'll need to address drainage as part of the repair.
How to Lift and Relay Patio Slabs: The Complete Process
Lifting and relaying affected pavers is the core repair process. It's physical work but straightforward if you follow the steps: remove slabs without breaking them, clean the area thoroughly, and rebuild the base properly before re-laying.
Step 1: Prepare the work area and assess safety
Before lifting anything, make the space safe and organised, you'll be working with heavy materials and creating a temporary hole in your patio.
Safety checks:
- Turn off water and gas supplies if the patio is near pipes or cables
- Contact your local council if you're unsure about underground utilities
- Wear sturdy gloves, safety boots, and eye protection
Remove furniture, planters, and obstacles from the work zone so you have space to stack slabs safely and move materials in and out.
Step 2: Remove and organize the affected pavers
Start by removing the failed slabs. Work carefully, you may want to reuse them, and breaking them creates sharp edges and more work.
How to lift slabs:
- Insert a pry bar under the edge of the slab at a low angle
- Apply steady, even pressure, don't jab or lever suddenly
- Lift slightly and slide a piece of wood under the bar to hold it
- Move the bar along the edge and repeat until the slab lifts free
- Slide the slab out carefully onto a flat surface nearby
Number each slab as you remove it so you know which goes where, and stack them flat to prevent damage.
For larger repairs, remove slabs in sequence, working outward from the worst-affected area so you can see the full extent of the base damage.
Step 3: Clean the repair area and remove debris
Once the slabs are out, you'll see old bedding material, loose stones, and probably weeds or moss. Remove everything down to the sub-base.
Cleaning steps:
- Sweep out loose material and debris
- Remove old mortar or bedding material completely, scrape it away with a shovel or mattock
- Pull out any weeds growing through
- Break up compacted soil if it's soft or waterlogged
- Check the sub-base for damage or soft spots
- Remove any standing water with a pump or by creating a temporary slope
This is your chance to inspect the sub-base properly. If it's soft, cracked, or shifted, repair it before laying new bedding.
Step 4: Inspect and repair the sub-base
The sub-base is the compacted stone or aggregate beneath the bedding material. If it's failed, your repair won't last, a good sub-base is firm, well-compacted, and level.
What to look for:
- Soft or waterlogged areas that compress when you press on them
- Visible settlement or hollows
- Exposed clay or soil instead of stone
If the sub-base is intact and firm, you can move straight to re-bedding. If it's damaged, you need to repair it:
- Remove any soft or failed material
- Add new compacted stone or recycled aggregate to bring the level back up
- Compact thoroughly with a hand tamper or vibrating plate
- Check the slope, it should drain away from buildings and any low spots
- Ensure the surface is level and firm before moving to the next step
This step is often where DIY repairs fail. A weak or uneven sub-base will cause the same problem to return within months. Take time to get it right.
Re-Bedding Patio Slabs: Rebuilding and Levelling the Base
Once the repair area is clean and the sub-base is sound, you're ready to rebuild the bedding layer. This is where you set the new level and create a stable base for the slabs.
Removing failed bedding material
You've already cleared the old bedding, but check it's removed completely, any soft, failed material left behind will cause the new bedding to fail too.
Scrape the sub-base clean down to solid material. If the old bedding was mortar, chip it away with a bolster and hammer, you're preparing the foundation for your repair.
Preparing a new mortar or bedding layer
You have two main options: full mortar bed or a sand and cement mix. Full mortar bed (using five-spot blobs of mortar) is faster but less stable on uneven sub-bases. A continuous sand and cement bed is more forgiving and better for repairs on poor sub-bases.
For a continuous bedding layer:
- Mix 4 parts sharp sand to 1 part cement (or use a pre-mixed paving mortar)
- Add water until the mix is damp but not wet, it should hold together when squeezed but crumble easily
- Spread the mix 30-50mm thick across the repair area
For five-spot mortar blobs:
- Mix mortar as above
- Place five blobs (one in each corner and one in the centre) on the sub-base
- Space them evenly to support the slab
Check levels carefully before laying slabs with a spirit level and straight edge, the bedding should be firm, level, and ready to accept the pavers.
Applying a bond bridge before relaying
A bond bridge is a thin layer of adhesive or primer that helps mortar stick to the sub-base and prevents water pooling between layers. It's optional but recommended, especially where drainage is poor.
If you're using a bond bridge:
- Apply it thinly to the sub-base before laying bedding material
- Let it dry according to the product instructions (usually 30 minutes to an hour)
- Then lay your bedding material on top
Most modern paving mortars don't strictly require a bond bridge, but it improves adhesion and reduces future failure, particularly on clay soils or where water ingress is heavy.
Choosing Materials and Getting the Proportions Right
The materials you choose affect how long your repair lasts. Most repairs fail not from poor technique but from the wrong material or incorrect mix ratios.
Bedding material options:
- Sharp sand and cement mix (4:1 ratio), most common, affordable, durable
- Pre-mixed paving mortar, consistent quality, more expensive, easier to use
- Lime mortar, breathable, suits older patios, slower to set
For most repairs on modern patios, a 4:1 sharp sand to cement mix works well. Avoid builder's sand, it's too fine and doesn't compact properly.
Check your mix by:
- Squeezing a handful, it should hold together but crumble easily
- Spreading it, it should stay in place without slumping
- Levelling it, a straight edge should cut through cleanly without dragging
Get the proportions right, and your repair will last. Get them wrong, and you'll be back here sooner.
Patio Slab Repair Cost and When to Call a Professional
The cost of repairing sinking patio paving slabs depends on how many slabs are affected, the repair depth, and whether you DIY or hire someone.
Repair scope and DIY versus professional help
DIY repairs suit you if:
- Only one or two slabs are affected
- The sub-base damage is minor or localized
- You're comfortable with physical work and using tools
Call a professional if:
- More than four slabs are affected
- The sub-base is extensively damaged or soft
- The patio has complex drainage issues
Professional repairs bring proper equipment, experience diagnosing root causes, and guarantees. At M&C Paving Northeast, we assess each repair individually, provide a free estimate upfront, and can handle any underlying drainage issues causing the problem.
Drainage and water management to prevent future settlement
The most important part of any repair is fixing the drainage. If water still pools on or beneath the patio, the problem will return.
Drainage improvements:
- Regrade the patio to slope away from buildings (minimum 1 in 80 gradient)
- Clear blocked joints and repoint with proper jointing material
- Install a perimeter drain if water pools around the edges
Proper drainage stops most sinking problems. It's worth investing in it as part of your repair.
Preventing Future Sinking and Maintaining Your Patio
Once repaired, keep the slabs in good condition, regular maintenance prevents expensive repairs later.
Annual maintenance:
- Clear moss and algae with a stiff brush or pressure washer (use low pressure to avoid damage)
- Check joints and repoint any that are crumbling
- Sweep debris and leaves regularly
Longer-term care:
- Repoint joints every 5-10 years as mortar weathers
- Inspect the patio after heavy frost or prolonged rain
- Address small movement or cracks early before they worsen
- Consider sealing the patio surface if using porous materials
Most sinking problems are preventable with good drainage and regular upkeep. A patio that's well-maintained lasts many years without major issues.
Sinking patio paving slabs are fixable, but the key is understanding why they're sinking in the first place. Poor drainage, weak base preparation, and ground movement all play a role.
Frequently Asked Questions
Why do patio paving slabs sink?
Patio slabs sink due to failed bedding material, poor sub-base compaction, water drainage issues, or ground settlement over time. Freeze-thaw cycles in colder climates accelerate this by expanding soil beneath the slabs. Heavy loads, tree root growth, and inadequate base preparation during installation are common culprits. Identifying the cause, whether it's a drainage problem or compaction failure, determines the right repair approach.
Can you lift and relay a sunken patio slab yourself?
Yes, you can lift and relay individual sunken patio slabs if they're accessible and the repair area is small. The process involves removing the affected slab, cleaning the area, removing failed bedding material, inspecting the sub-base, and relaying the slab on a new mortar or bedding layer. However, large areas, structural issues, or utility lines nearby require professional help. Safety checks and proper equipment are essential to avoid injury or damage.
What is the best material for re-bedding loose patio slabs?
A full mortar bed (typically a 1:4 cement-to-sand ratio, 30-50mm thick) is the most common choice for re-bedding patio slabs. Some professionals use a semi-dry mortar mix for better workability. Alternatively, proprietary paving bedding compounds offer consistent results. The choice depends on your slab type, climate, and local soil conditions. A bond bridge applied before relaying ensures better adhesion. Proper drainage around the repair area is equally important to prevent future settlement.
How much does it cost to repair sunken patio paving slabs?
Repair costs depend on the number of slabs, slab size, depth of base damage, and whether drainage work is needed. Small repairs (1-2 slabs) are less expensive than full patio re-bedding. Material costs vary, but labour typically dominates the total. For an accurate quote tailored to your specific situation, contact a qualified local contractor for a free estimate. They can assess the extent of settlement and recommend the most cost-effective repair approach.
